Wedded Wonderland
PARTNERS
STORIES
Real weddings
Expert Advice
Featured
Style
Trending
Destinations
Europe
Italy
Switzerland
Middle East
RAK
Asia
Oceania
North America
Mexico
Africa
Resources
Magazines
Gift Concierge
Ultimate Destination Wedding Guide 2026
Get Featured
Newsletter
Business
Wedded World Him
Wedding Planner Suite
Get Wedded in Australia
Wedded Pro
Wedded World
Join as a Partner
Articles
Start PlanningLog In
Wedded Wonderland
PARTNERS
STORIES
Destinations
Resources
Business
Start Planning
Log In
/
/
/

Wedded Wonderland

© 2026 Wedded Wonderland.
All rights reserved.

Company

  • About Us
  • Careers
  • Contact

STORIES

  • Real Weddings
  • Expert Advice
  • Featured
  • Style
  • Trending

Concierge

  • Wedded Concierge
  • Gift

PARTNERS

  • Partner with us
  • Partner Program

Legal

  • Privacy Policy
  • Cookie Policy
  • Terms & Conditions

Wedding Venues by City

  • Wedding Venues in Sydney
  • Wedding Venues in Dubai
  • Wedding Venues in Ras Al Khaimah

Wedding Vendors by City

  • Wedding Vendors in Sydney
  • Wedding Vendors in Melbourne
  • Wedding Vendors in Brisbane
  • Wedding Vendors in Perth
  • Wedding Vendors in Adelaide
  • Wedding Vendors in Gold Coast
  • Wedding Vendors in Canberra
  • Wedding Vendors in Hobart
  • Wedding Vendors in London
  1. Home
  2. Blog
  3. Beauty
  4. HOW TO PERFECT THE WINGED EYELINER LOOK.
BeautyMake-up

HOW TO PERFECT THE WINGED EYELINER LOOK.


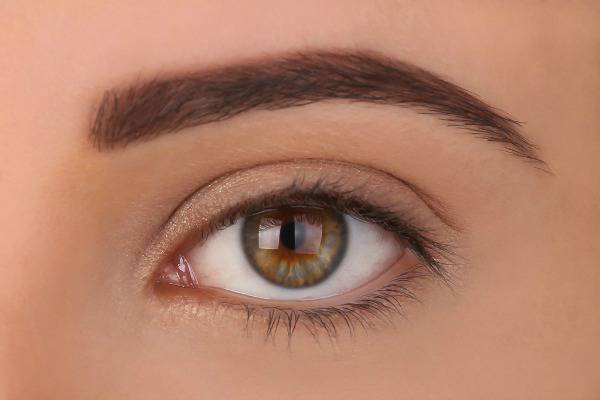
There’s nothing sexier than perfectly flicked winged eyeliner. It elongates and opens up your eyes, creates a sexy cat eye shape and gives you a more sultry, exotic look.

For some girls it can be as easy as 1, 2, 3 but, the rest of us tend to end up with squiggly, uneven, smeared lines, rather than a graceful flick. However, once you learn the correct technique it all comes down a bit of practice to perfect that flick.

We spoke with the talented Melanie from Milani Joy Make-up who demonstrated the easiest way to perfect your winged eyeliner with these 8 easy steps.

1. Start with a clean eye shadow base applied with primer, or a natural colour shadow – depending on personal preference.

MILANI 1

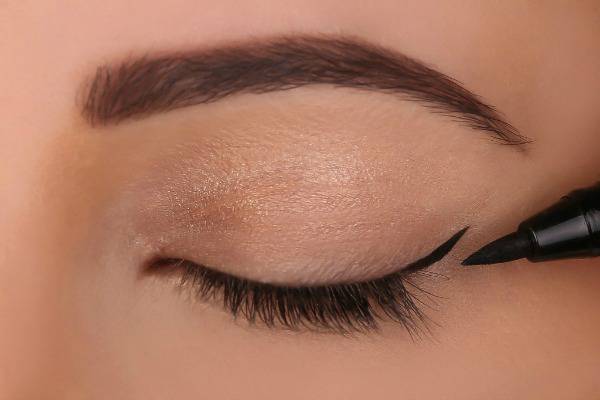
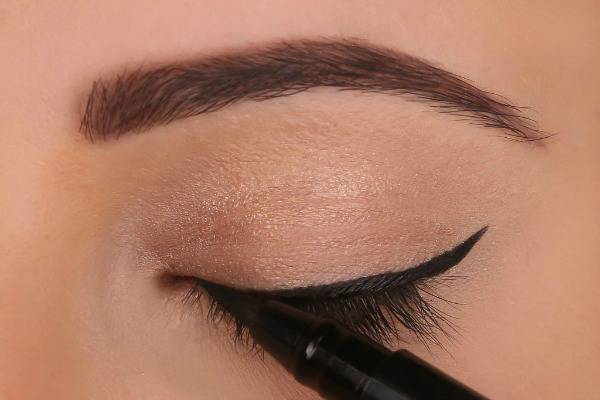
2. Draw a line from the corner of your eye towards the end of eyebrow. The length of your line depends on individual preference.

MILANI 2

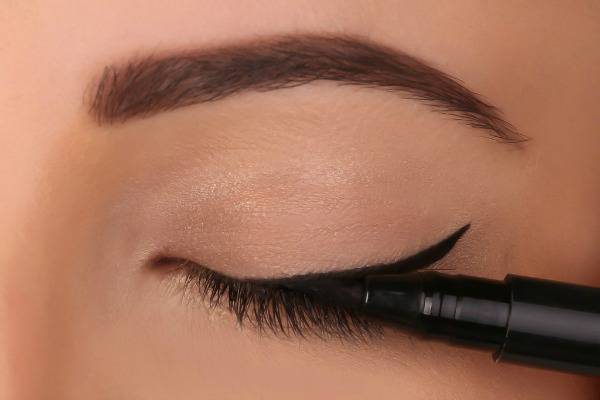
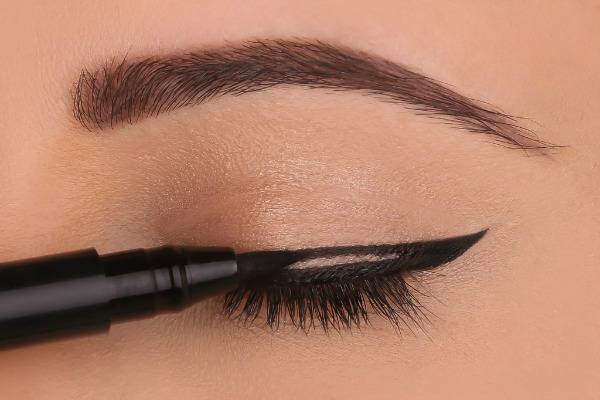
3. Starting at the middle of your eye draw a line against your lash line, joining with flick you’ve just created.

MILANI 3

MILANI 4

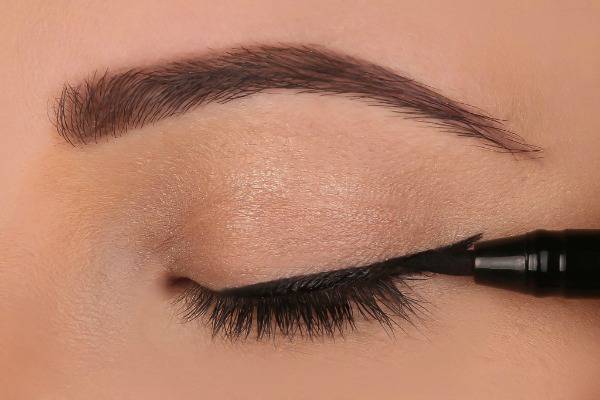
4. Start drawing a thin line from the inner corner of your eye to meet the centre.

MILANI 5

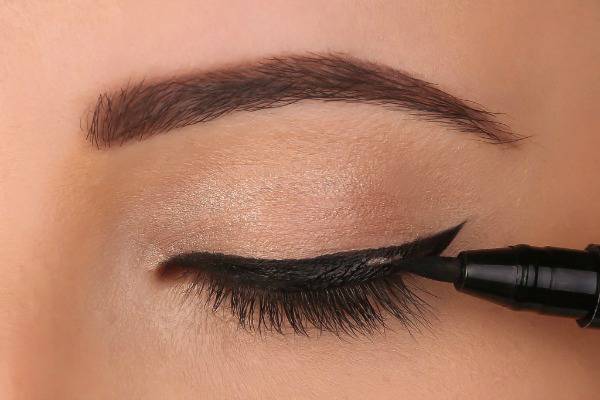
5. Now that your line is created, go back to the flick and draw a second line to create the desired thickness. Ensure the line blends from the inner to the outer corners of your eye.

MILANI 6

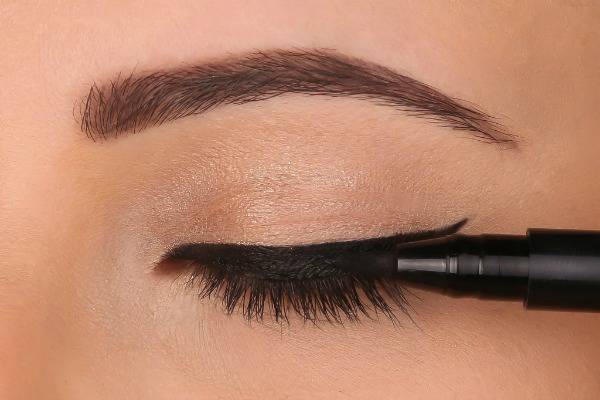
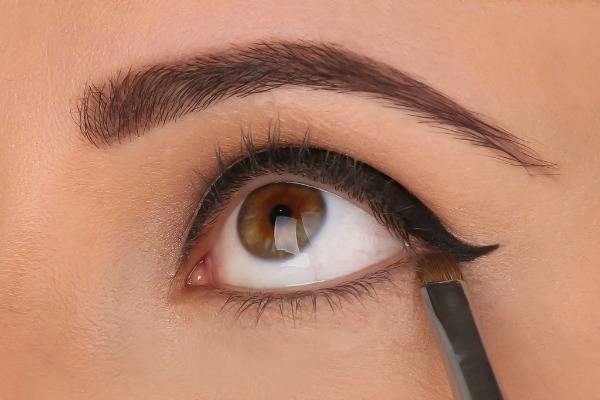
6. Colour in the created shape. Tip: focus on filling in gaps between lashes. At this point, if you wish to extend flick, now is the time to do. Make sure if you do though your line remains smooth.

MILANI 7.jpg

MILANI 8

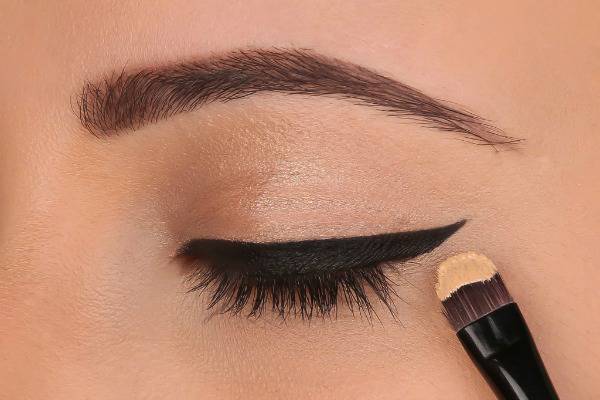
7. With a small concealer brush clean edges of the flick to eliminate any jagged edges. Repeat as often as required for a super clean line.

MILANI 9

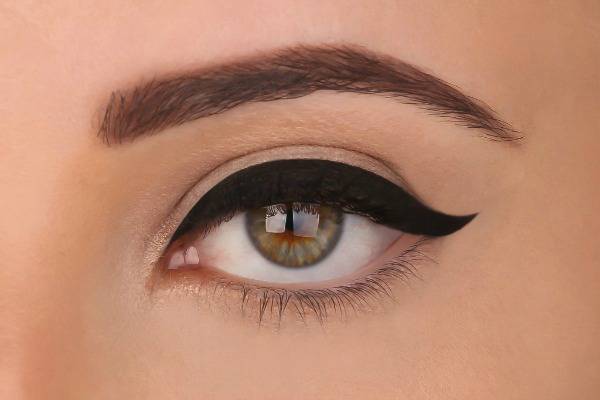
8. To prevent seeing a gap from the top to bottom of the eye, blend the black with a clean brush from the outer corner into the flick. Repeat as often as desired until it’s blended.

MILANI 10

MILANI 11

So, what are you waiting for? Grab that eyeliner and start practicing the perfect flick!

Milani Joy
@milanijoymakeup

Share This Article
Share

Related Posts

Australia's Top Bridal Beauty Artists Are Behind Every Look You'll Love at Wedded World 2026
Trending

Australia's Top Bridal Beauty Artists Are Behind Every Look You'll Love at Wedded World 2026

When the Elements Test You, Your Tools Can't Fail: The Science of Bridal Hair in the Wild
Expert Advice

When the Elements Test You, Your Tools Can't Fail: The Science of Bridal Hair in the Wild

Beyond the Moment: How the Met Gala 2026 is Redefining Bridal Beauty, A Luxury Expert Breakdown by Beauty by Natalie
Trending

Beyond the Moment: How the Met Gala 2026 is Redefining Bridal Beauty, A Luxury Expert Breakdown by Beauty by Natalie